Ever since I found out I was allergic to whey (waaah goodbye cheese), I have been making my own ghee.
Ghee is unsalted butter that is heated, much like clarified butter, but is cooked longer to get that golden hue and delicious nutty flavour. The great thing about ghee is that the cooking process removes the lactose, casein and whey, making it easier to digest for those with dairy allergies(meeee!). I also believe that ghee tastes way better than butter (am I alone on that or are there more ghee>butter people out there?).
If you are looking to add this healing food into your diet, which I encourage you to do, this How to Make Ghee guide will come in handy. Plus it has pictures. Pictures always help.
Traditionally, ghee has been used in Ayurvedic cooking and medicine. It is nourishing for the nervous system as well as gut healing. It helps to balance the gut microbiome, sooth peptic ulcers, and feed the cells of the intestines. It is also rich in fat soluble vitamins, A, E, D and K. I love cooking with ghee, adding it to elixirs and even baking with it. The smoke point for ghee is 450 F degrees so it is great for high heat cooking.
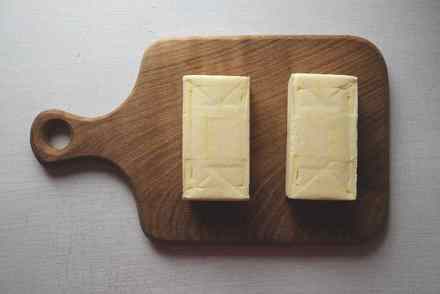
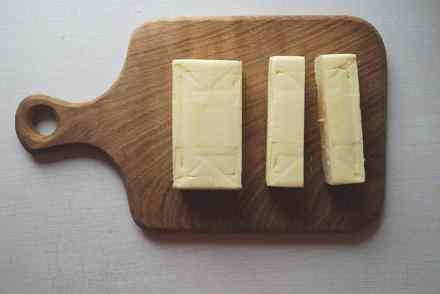
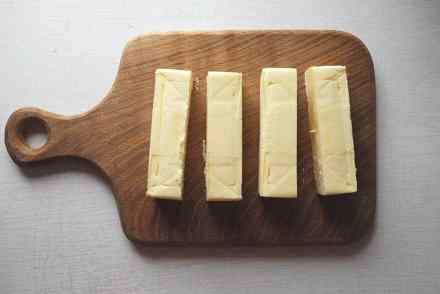

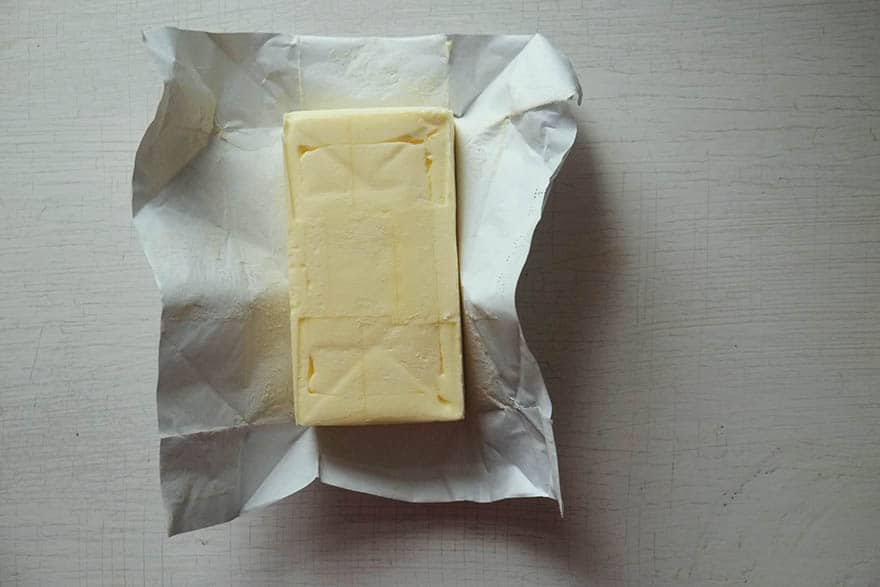
Chop the butter up and put in a pot over low heat.
Stir occasionally and scrape the sides as butter is melting.
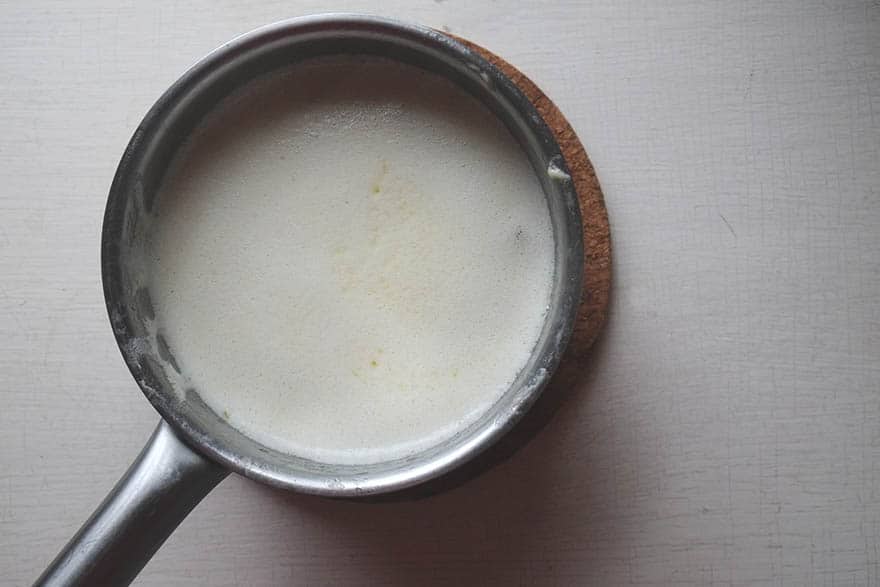
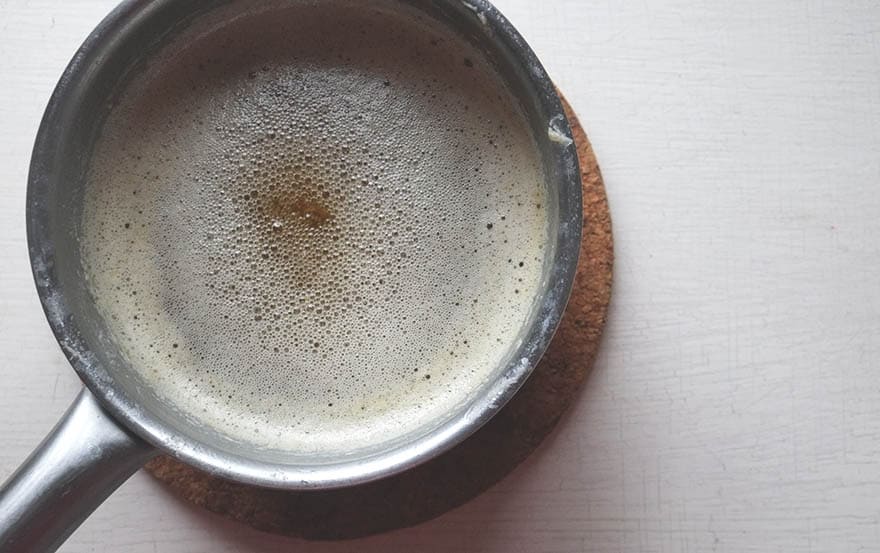
The butter will start to foam on the top and will start to boil. At this point you can leave the pot for a little while
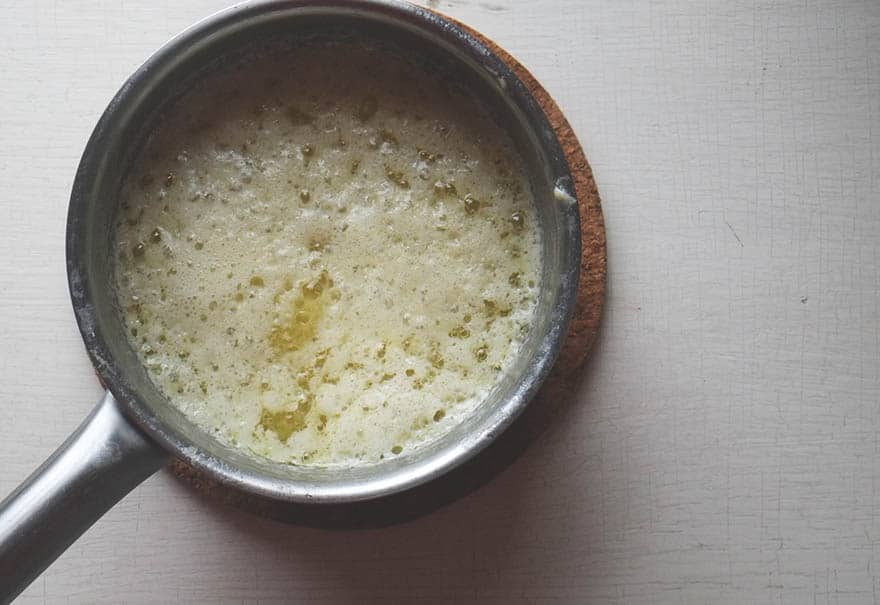
Soon enough (5 minutes ish of boiling) the bigger bubbles will appear and the foam will start to turn darker
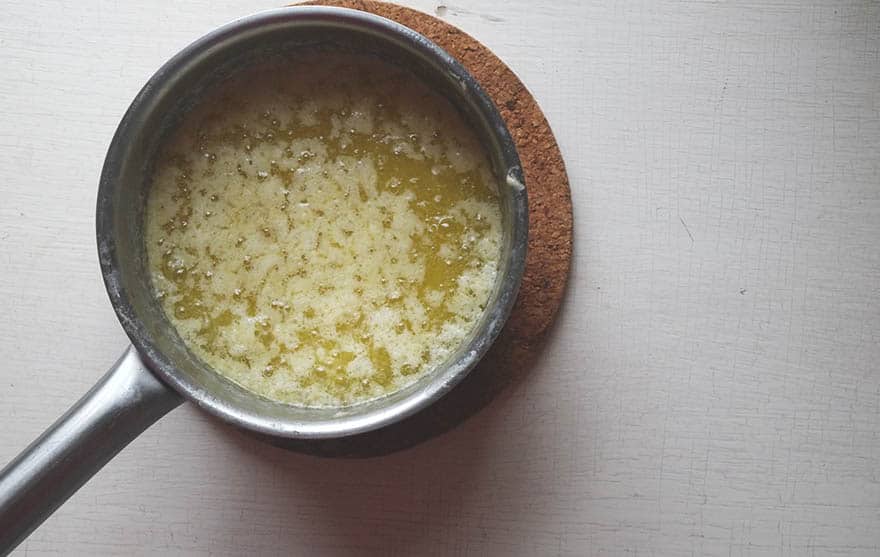
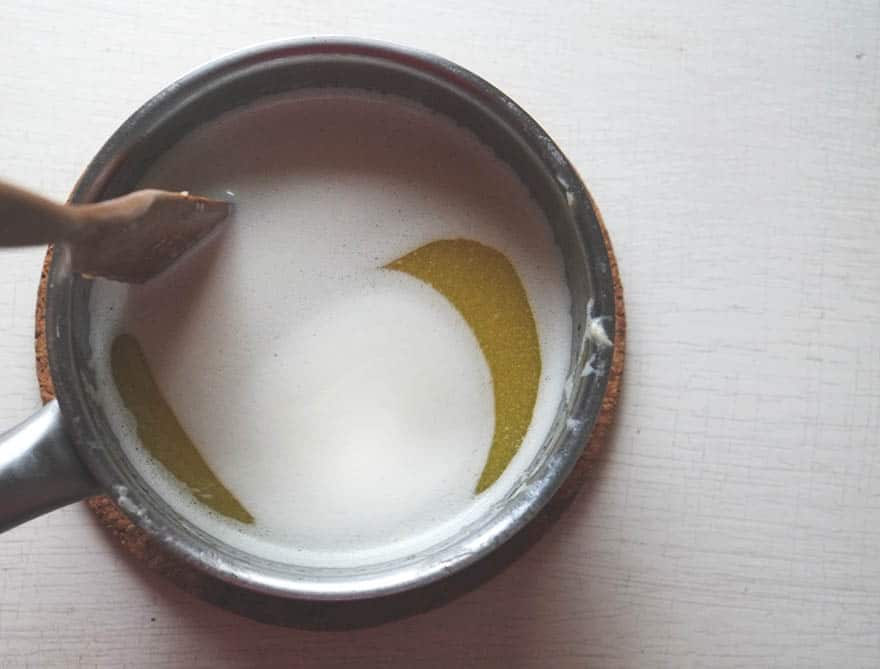
The foam starts to curdle and float to the bottom.
When most of the milk solids have sunk to the bottom scrape the sides and stir the bottom of the pot every so often so it doesn’t burn.
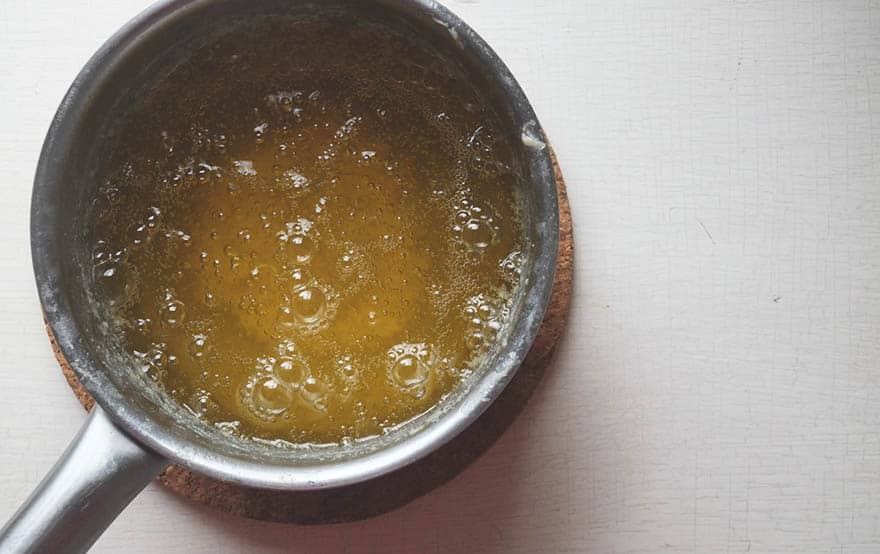
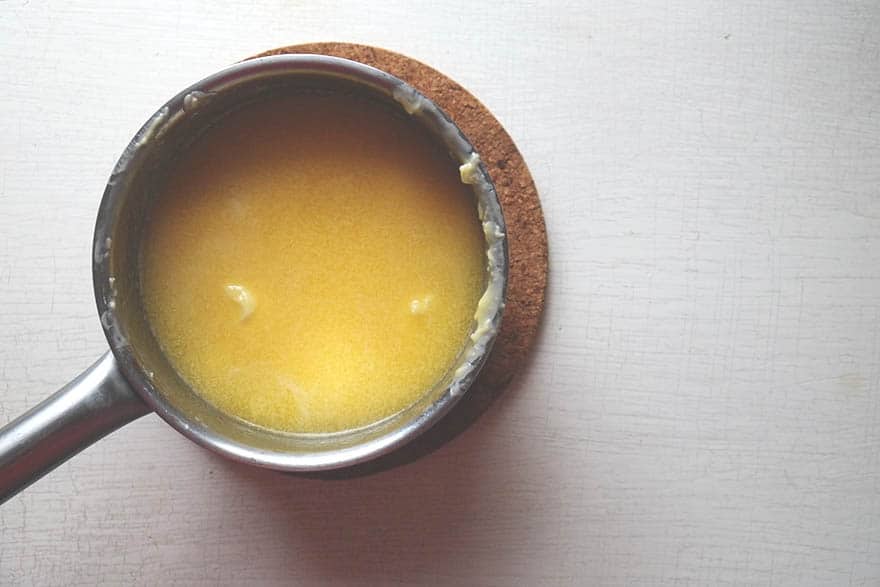
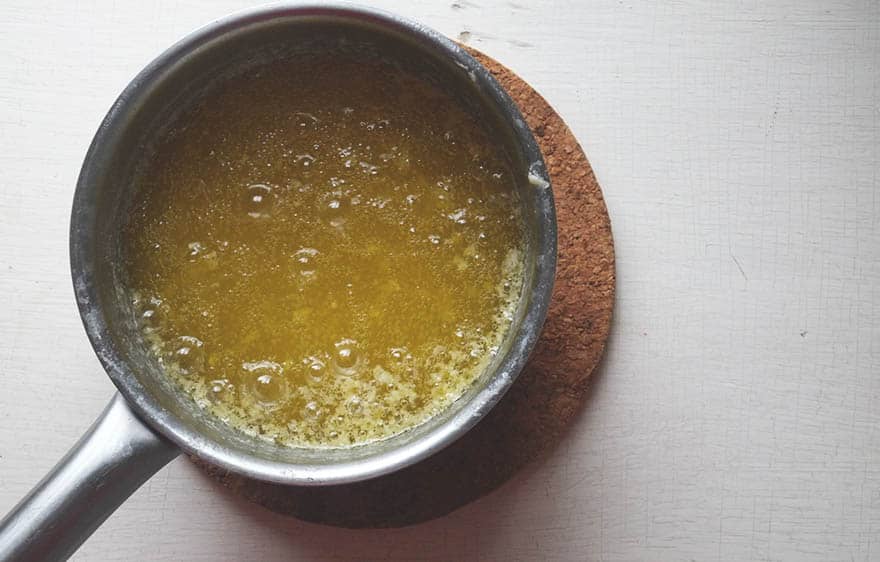
Your ghee will start to become really clear with big bubbles forming.
A new, second foam forms. You ghee is ready to go! Take it off the heat.
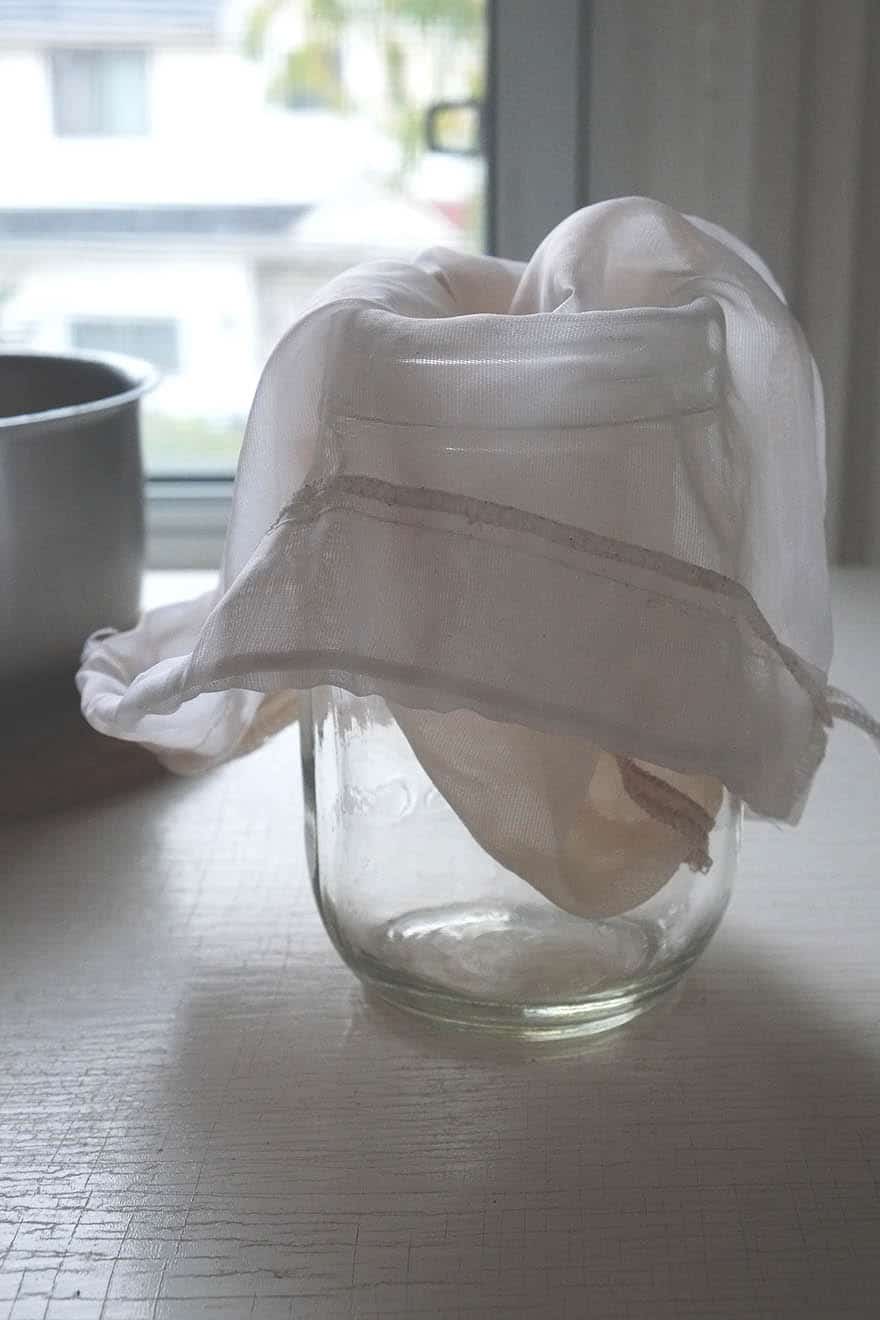
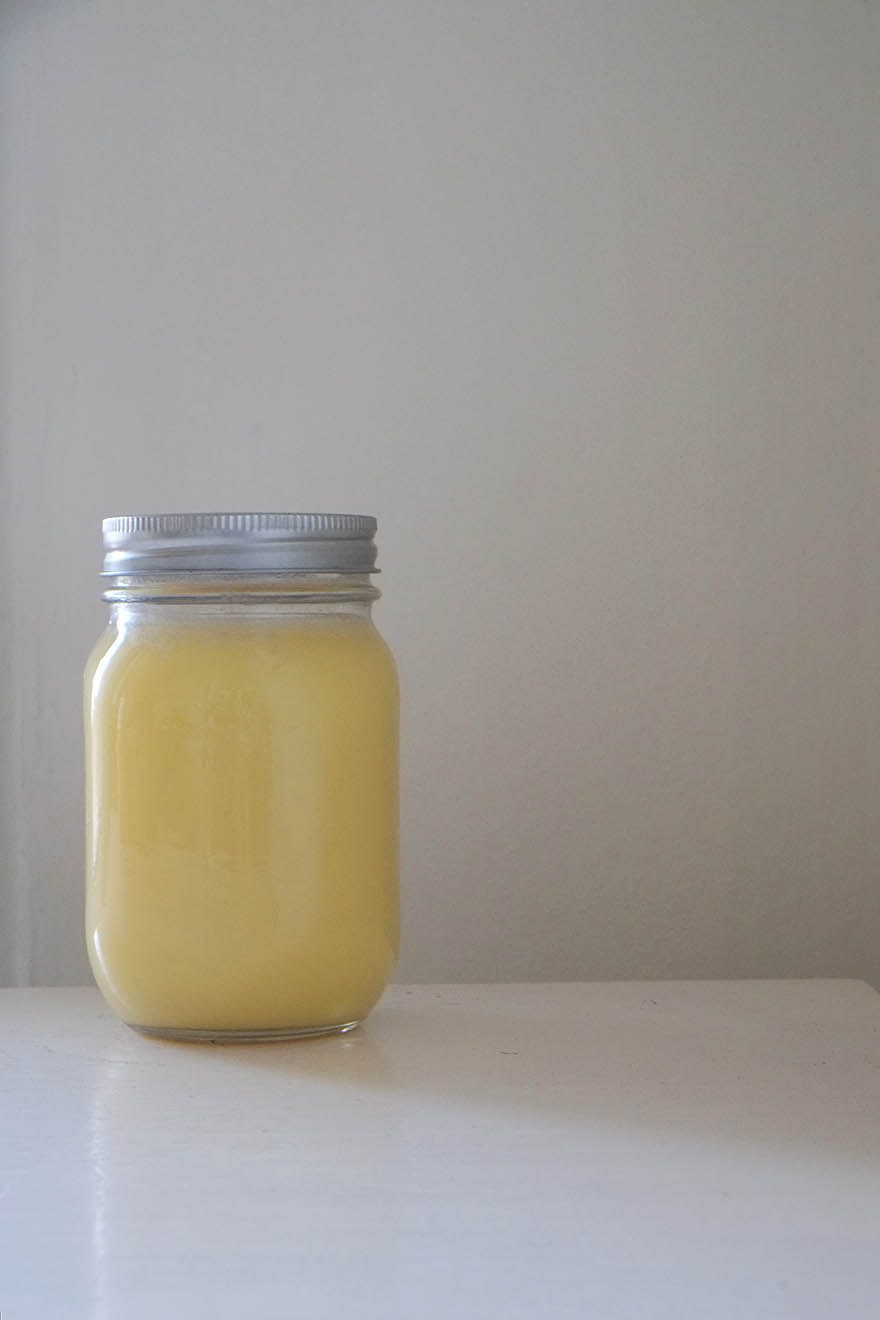
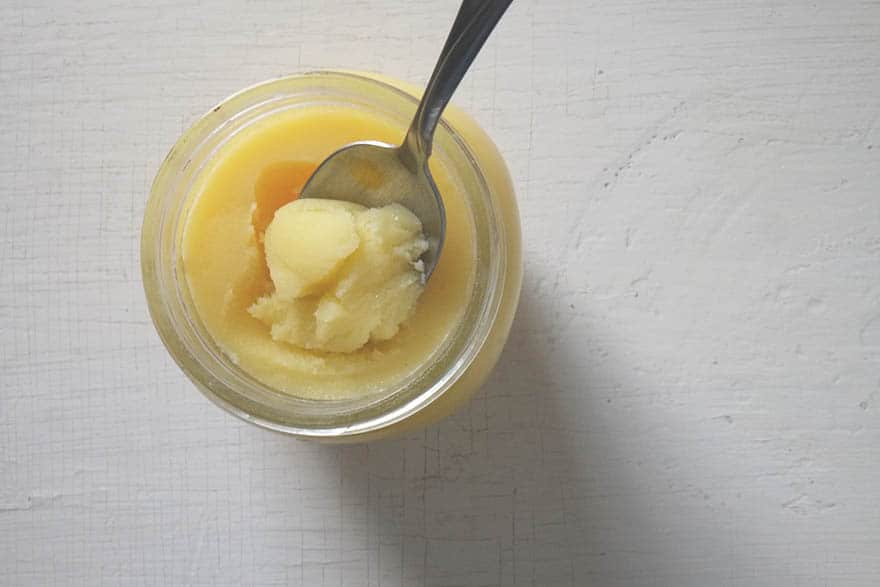
Pour the ghee through a cheesecloth or nutmilk bag into a heat safe jar or container.
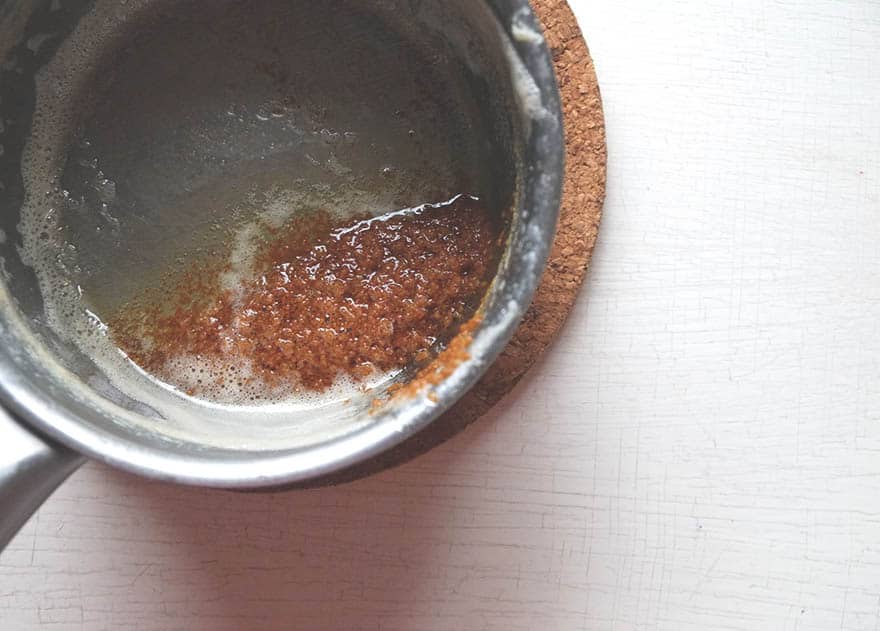
You will have brown milk solids left at the end of the process.
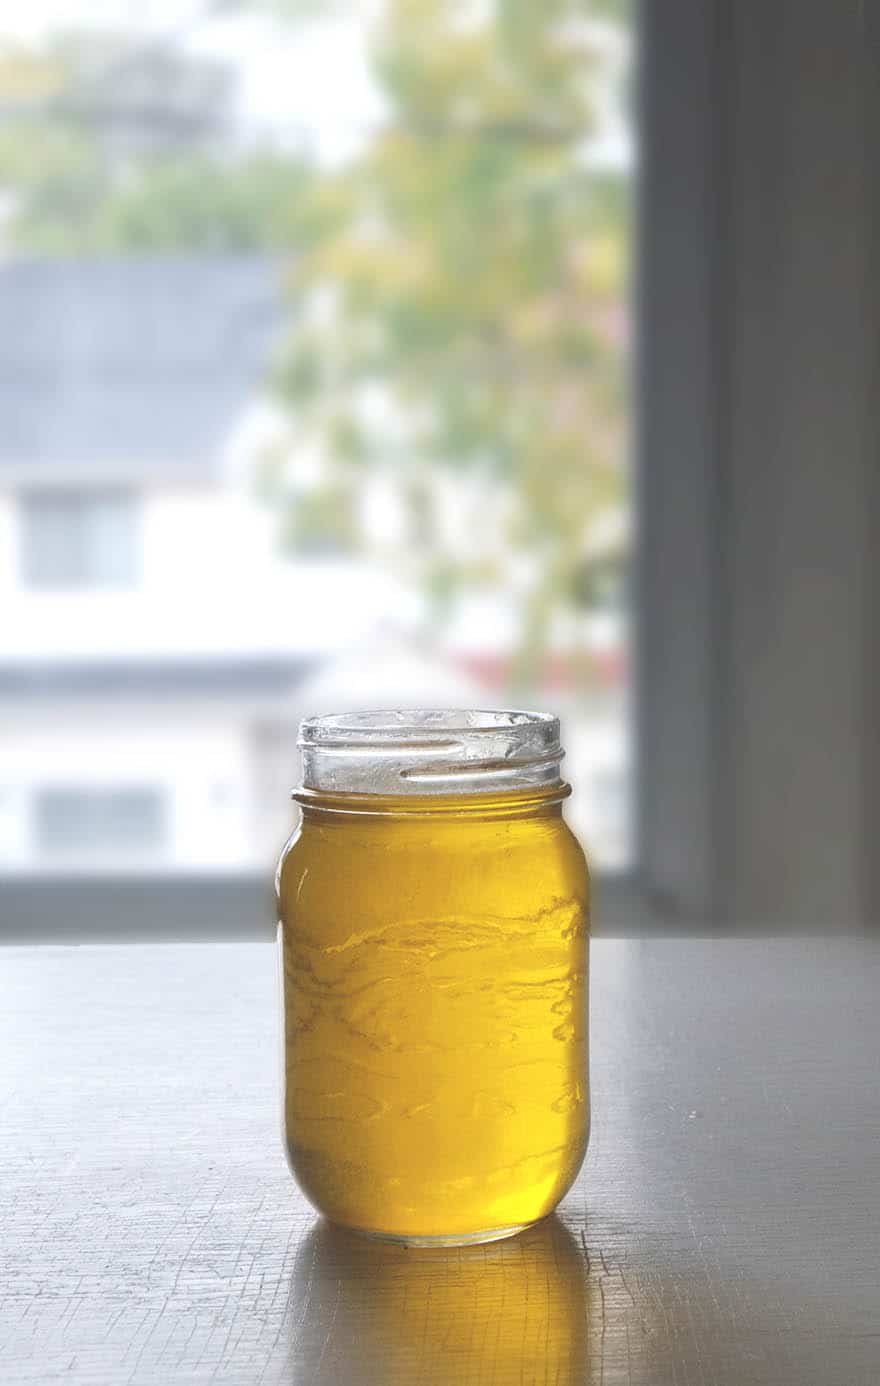
GOLDEN.
oh em ghee.
This post contains affiliate links. Please see the Sweet Lizzy Disclosure for more information.
PrintGHEE

This healing food is so easy and so delicious. Decadent and filling, it can be used in elixirs, for cooking at high heat or slathered onto any baked good! Enjoy!
Ingredients
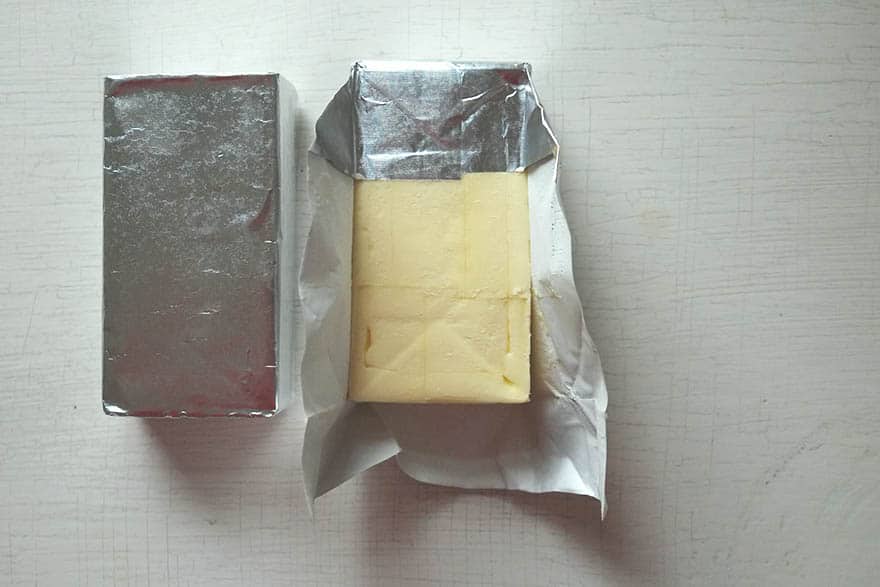
1 pound grass-fed unsalted butter
1 pot
cheesecloth or nutmilk bag
Instructions
- Chop butter and put in a heavy bottomed pot.
- Heat on low heat, stirring until the butter is melted.
- Leave the pot on low while it simmers for about 5-10 minutes.
- During this time the ghee will foam, the foam will curdle (milk solids) and fall to the bottom, the ghee will get very clear and darker in colour again, the milk solids will start to brown and the ghee will foam again.
- The ghee should be very fragrant and smell almost like popcorn.
- After the second foam, strain the ghee through a cheesecloth or nutmilk bag into a mason jar.*
- Let the ghee cool to room temperature before moving into the fridge. **
Notes
*1lb butter fits perfectly into a pint (16oz) size jar.
**Ghee is shelf stable but I prefer to keep it in the fridge so it will last even long.
Does it need to be unsalted butter? Getting ready for another round of whole30
Hi Erin! I only make it with unsalted butter. I think that the salted butter might get too concentrated.